



Ribbon "Preferences"
The "Preferences" ribbon contains some common ribbon elements, but also the following functions:
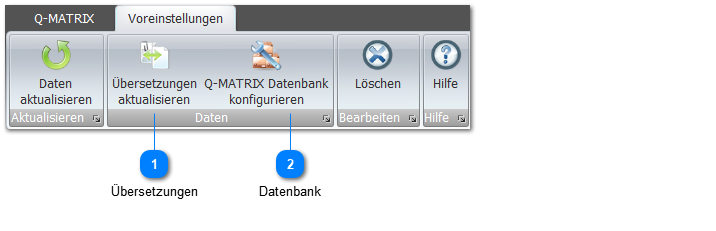
 Translations
The following wizard helps you enter the translation for a language.
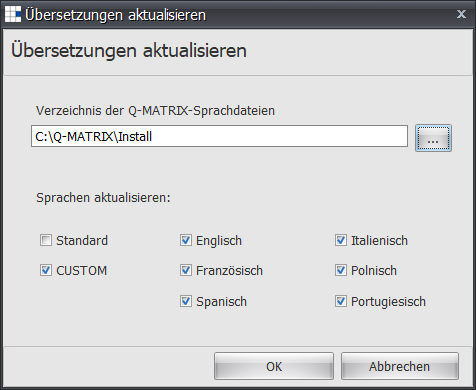
To do this, use  to select a folder (see following image) that contains the necessary files.
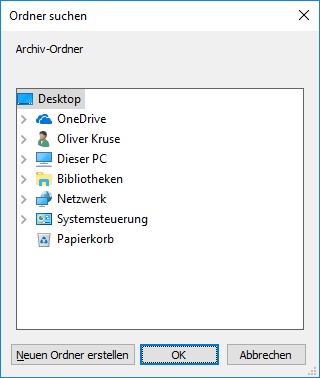
By default, an Install subdirectory is created in the program folder, containing the three (3) files for the bulk update.
You can also edit these files (qm_common.csv, qm_fields.csv, qm_messages.csv) with any text editor.
Run the bulk update by clicking OK, and after some time (this can take a few minutes) you must quit the program and restart it so that the new/updated terminology of the user interface is used.
Note:
Editing via the translation wizard is significantly more convenient, and we recommend using this function only when you have been asked to use this functionality.
 Database
As with the first startup, the configuration wizard is launched.
A window appears that allows you to determine on which Microsoft SQL Server the database for Q-Matrix™ should be created or already exists.
The following steps need to be performed:
- Establish database connection
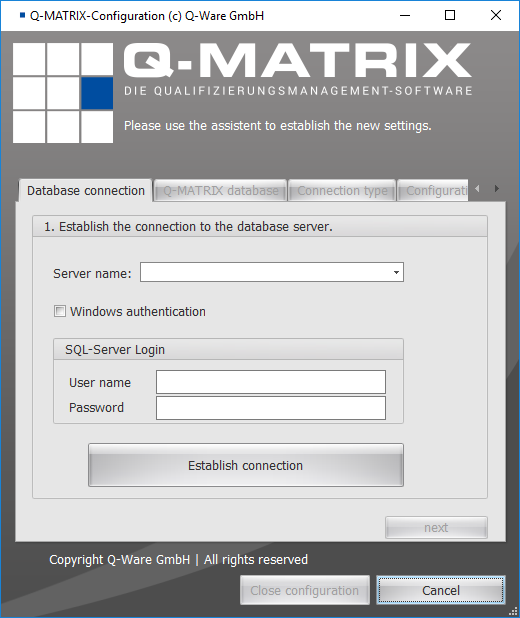
You can also determine the type of authentication used to log in to the SQL server.
Once you have entered all the details, click "Establish Connection" to establish a database connection.
2. Define Database
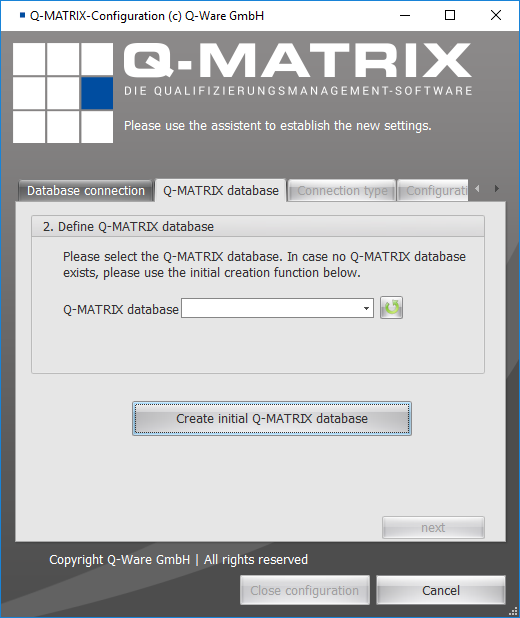
Select an existing database, or create a new empty database via "Create initial Q-Matrix™ Database".
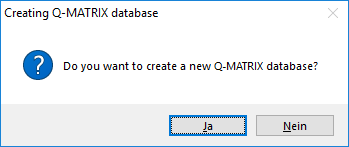
The dialog for a new empty database must be confirmed:
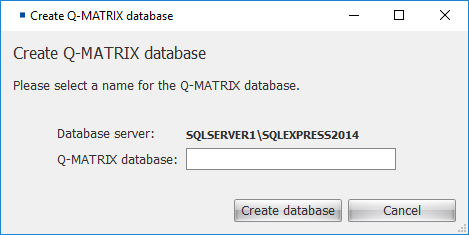
Then enter a descriptive name for the database (e.g. QM_Company).
3. Database Access
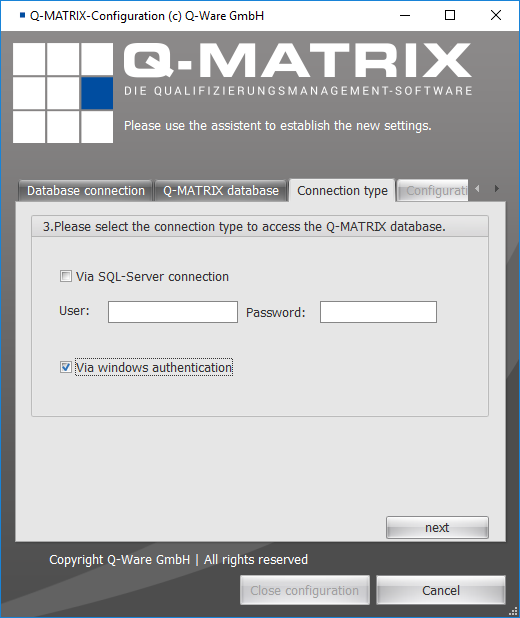
Database access can be done via a database user account (e.g. user "user" with password "password").
Please contact your colleagues from the IT department to obtain this information.
If you select Windows authentication, the user's login credentials are passed on to the database.
For this user to be able to access the database, access must be configured in Microsoft SQL Server, either for this individual user or, ideally, for a group of users.
For more details, see the specific help for the SQL Server, or point your IT colleagues to this resource online.
4. Save Configuration
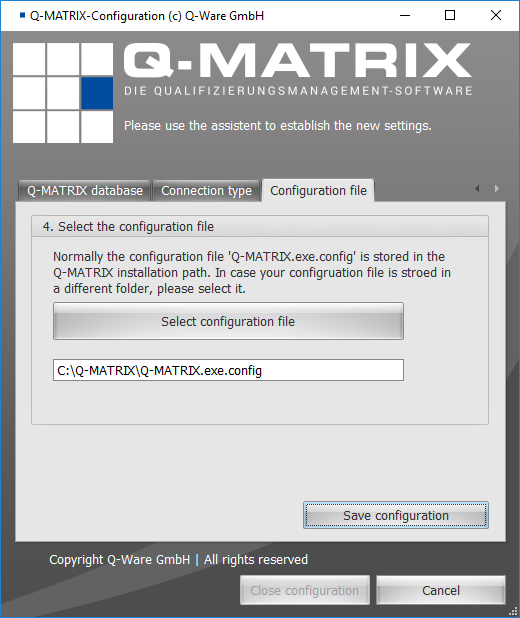
Accept the suggested value from the text field input, or select the file via "Select configuration file".
Clicking the "Save configuration" button saves the configured settings.
The program is then restarted, and the login screen is displayed.