



Assigning Learning Topics
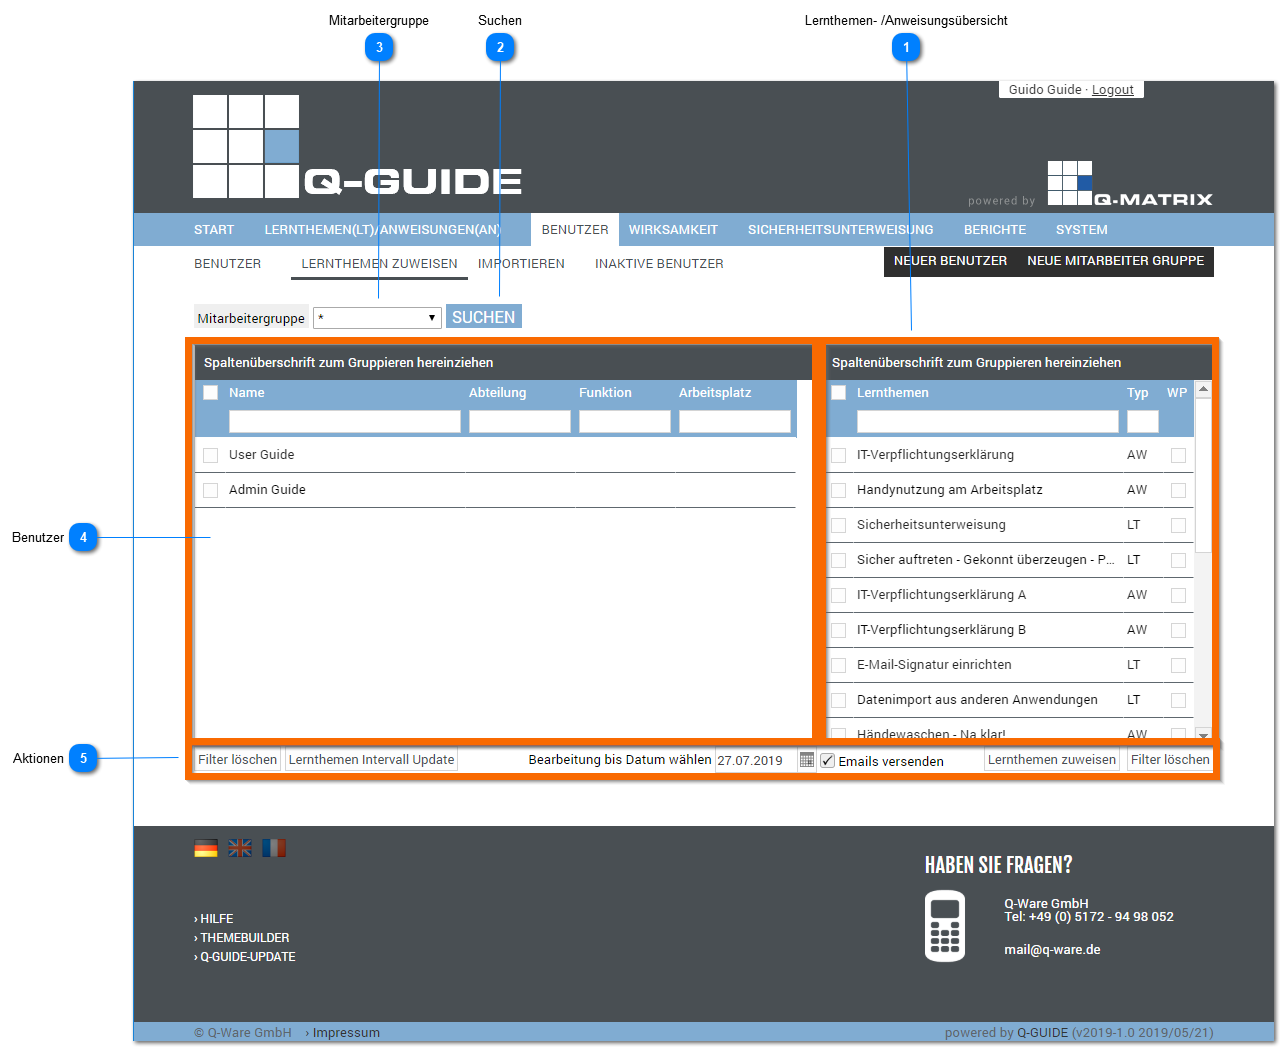
Learning Topics/Instructions Overview
This information is displayed:
| Selection | In this column, you can specify whether an action should be performed for this learning topic (LT) / instruction (AW). Simply click this icon ( ), and the row is selected ( ), and the row is selected ( ). The selected row is also highlighted with a light blue background to indicate the selection. ). The selected row is also highlighted with a light blue background to indicate the selection. |
| Title | Shows you the title of the learning topic / instruction |
| Type | Indicates with 2 letters whether it is a learning topic (LT) or an instruction (AW) |
| WP | This column shows you whether an effectiveness check (Wirksamkeitsprüfung) is set for the learning topic / instruction |
When this tabular overview is opened, no grouping is shown initially.
You can click a column header with the left mouse button, hold the left mouse button down, drag the column header into the upper grouping row, and then release the left mouse button.
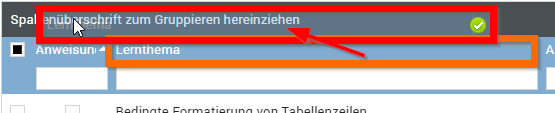
The result is a grouping of the table by this new column header (e.g. user).
You can remove the grouping by clicking the X.

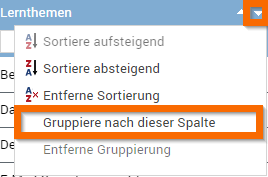
You can also achieve a grouping by selecting it via the field selection (click the top right of the table header column):
Search
Click this button to filter all available employees by the set employee group.
Employee Group
Select one of all available employee groups from the dropdown list.
Users
This information is displayed:
| Selection | In this column, you can specify whether an action should be performed for this user. Simply click this icon (), and the row is selected (). The selected row is also highlighted with a light blue background to indicate the selection. |
| Name | Shows you the first and last name of the user |
| Department | Shows you the currently set department of the user |
| Function | Shows you the currently set function of the user |
| Workplace | Shows you the currently set workplace of the user |
When this tabular overview is opened, no grouping is shown initially.
You can click a column header with the left mouse button, hold the left mouse button down, drag the column header into the upper grouping row, and then release the left mouse button.
The result is a grouping of the table by this new column header (e.g. user).
You can remove the grouping by clicking the X.
You can also achieve a grouping by selecting it via the field selection (click the top right of the table header column):
Actions
| Clear Filter | Clears all filters / settings for the user table, and after clicking this button, all available users are displayed |
| Update Interval |
Clicking this button applies possible interval changes for all selected users and learning topics/instructions. A small overview summarizes the action to be performed, and upon confirming Execute Action, the change is applied.
After completing the change, an overview shows you again how many changes were made.
|
| Processing Date |
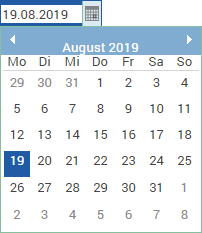
Set the processing date by which this learning topic/instruction should be worked through by the user. Clicking in the text field lets you enter the date directly, for example day.month.year Clicking the small calendar icon on the far right lets you select the date in the dialog that opens. To do this, simply click the desired date in the dialog, and it is applied to the text field for the processing date.
|
| Send Emails |
Enable ( new task in Q-Guide for %vorname% %name% Hello %anrede% %name%, a new learning topic is ready for you in Q-Guide: %topictitle% Please process the topic by %date_deadline% at the latest. Log in to your Q-Guide right away with your access data and check which of your learning topics are still open. URL: %publicurl% If you have any questions, please contact your internal point of contact. Support Phone: +49 5172 94 98 052 Email: [email protected] Best regards Your Q-Guide team |
| Assignment |
Clicking this button carries out the assignments for all selected users and learning topics/instructions. A small overview summarizes the action to be performed, and upon confirming Execute Action, the assignment is carried out.
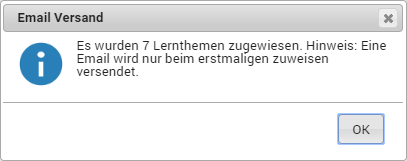
After the assignments are completed, an overview shows you again how many assignments were made and how many associated emails were sent.
|
| Clear Filter | Clears all filters / settings for the learning topics/instructions overview, and after clicking this button, all available learning topics/instructions are displayed |
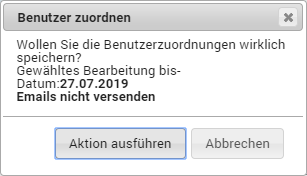
 ) or disable (
 ) this option for sending emails. Depending on the setting made here, users can receive the following default email: